

How to Prepare for Your Ben Nevis Winter Ascent (Kit List, Food and Training)
As the saying goes, failing to prepare is preparing to fail
– a quote by good’ol Benjamin Franklin. This expression couldn’t be more true when heading into the mountains, and thorough preparation is essential for your Ben Nevis winter ascent. Your enjoyment, wellbeing and most importantly, your safety, depends on it.
The John Muir trust estimates that ~100,000 people hike Ben Nevis every year. As the biggest mountain in the UK, this comes as no surprise. You can join your fellow adventure seekers with your Ben Nevis winter ascent at Maximum Adventure.
Remember though, the winter conditions on the Ben are more adverse to summer conditions. We’re talking about cold wind chills, and slippery snow from mid-November through until April. The Ben in winter is not for the faint-hearted but is achievable if you have a good level of fitness, resilience, and you’re able to take the time to prepare.
Because we care about you, your safety, and we want you to have an enjoyable mountain experience, we’ve put together this short guide to help your prepare for your Ben Nevis winter ascent. You’ll learn what gear you’ll need, what food to bring, and how to prepare physically. With that said, let’s jump right in.
- Your winter hiking gear check-list
- Mountain food: What to eat to fuel your Ben Nevis winter ascent
- How to get mountain fit (your fitness plan for your Ben Nevis winter ascent)
Get your boots on, walking poles ready, to the mountains here we come!
Your winter hiking gear check-list
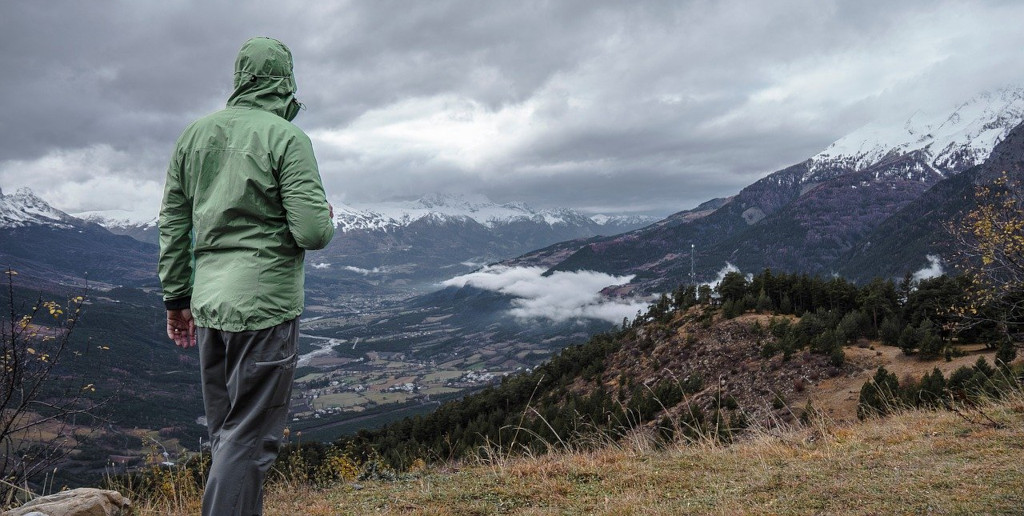
That bitter winter wind across the Nevis range will find every hole in your clothing and bite through thin, non-wind-resistant layers. Our best advice is to buy well and buy once. Do your research and make sure to test your equipment before you set out.
Getting the layering right can make your experience on Ben Nevis much more enjoyable.
Luckily for you, we’ve made your life easier by putting together the below essential kit-list for your guided Ben Nevis ascent.
Item #1: Merino thermal base layers
Merino Wool is your gold standard base layer. Made from natural soft fibres that trap heat very efficiently between the layers. Merino is a breed of domestic sheep, characterized by their fine, soft wool. This natural material has a better insulating capacity relative to synthetic alternatives. The material can be worn consistently for running, hiking, and mountain biking. The wool is rated for its comfort across a range of temperatures.
Another benefit is Merino Wool’s ability to insulate when wet. We all know how wet the U.K can be, so this comes as a major advantage if you find yourself swimming up Ben Nevis through snow or rain.
Purchase a Merino Wool base layer, top and bottoms. This is essential kit for keeping warm in the mountains.
Item #2: Mid-layer fleece and softshells
It’s a common misconception that the more layer’s you have, the warmer you’ll be. You can be walking around like Michelin Man and yet still feel the cold chill. What you need are high-quality insulating layers. Covering your base with Merino-Wool gives you a good start, but from there, what layers do you add?
You want a good mid-layer fleece for your top half. The idea of the mid-layer is to keep you warm, but not so warm that you overheat. You decide between a fleece mid-layer or a synthetic jacket mid-layer. Fleeces are very comfortable and breathable but they’re not very effective when wet. A synthetic mid-layer provide more wind and water resistance, but they’re not as breathable, and for some, can provide too much insulation.
Interesting many Scottish Mountain Guides use Nikwax Paramo products. These are fast drying and perfect for the Scottish climate.
You can also go for a soft shell mid-layer jacket. These are lightweight, breathable, waterproof and water-resistant. They are to be worn as part of your layering system, together with a base layer and a breathable, waterproof outer hardshell jacket, your next kit-list item.
If you really feel the cold, consider a down vest to add on top of these layers. This will keep your core insulated while freeing your arms for movement.
Item #3: Outer hardshell jackets
The simplest definition of a hardshell jacket is a waterproof and windproof layer. It’s primarily designed to keep you dry in the rain. Hardsehlls don’t provide insulation but are vital for keeping warm by protecting you from the elements.
You’ll wear your hardshell jacket over your inner insulating layers.
Item #4: Outer, emergency warm synthetic insulation
Weather in the mountains is unpredictable and can certainly catch you out. You need to have an extra, emergency insulating layer. This will protect you in case conditions get extremely cold, or if there’s been an incident causing you to slow down your pace, or wait around.
Avoid down jackets as an outer layer for Scotland. Down fibre is not good in wet conditions and is more suited to cold, dry, Alpine days. What you need is a warm, synthetic, insulating layer that offers water protection such as the Fitzroy Jacket by Montane Equipment.
Item #5: Hat and gloves
You can’t go wrong with a typical fleece beanie hat or a Norwegian winter hat that covers your ears and face. In terms of gloves, you’ll want to pack at least 3 pairs to swap and change between. You’ll be taking your gloves on and off throughout the day, and if conditions are wet, your hands (and gloves) could get wet too. Having an extra, dry pair of gloves in your bag is vital to keep your hands warm.
Look for thick, insulating Gortex gloves such as the Super Couloir Glove. Also, take hand warmers (sold in many outdoor shops). You can pop these into your gloves to keep your hands toasty at all times.
Item #6: Hiking socks
Let’s not forget about your feet. There’s nothing more painful than cold, numb tootsies, and blistered ankles. Such a simple thing as a walking sock could change your hiking experience for better or for worse.
You want hiking socks that are breathable, moisture-wicking and able to provide great temperature regulation. Socks specifically designed for hiking are also designed to protect your foot to prevent blistering.
Listed below are the best walking socks we recommend:
- Smartwool Medium Hiking Crew
- SealSkinz Trekking Tick Mid
- Falke TK2
- Darn Tough Hiker Boot Full-Cushion
- Icebreaker Hike Heavy Crew
Item #7: Winter hiking boots
Specialist boots are a must for climbing Ben Nevis in winter, but there’s a huge range to choose from. They will all come with a ‘B’ rating which explains their suitability. We recommend a minimum B2 boot for our Ben Nevis winter walks as this offers the best balance between stiffness and comfort, plus they are crampon compatible.
Don’t buy your boots online, and go to a professional boot fitter to find the pair that’s right for you. Having the wrong boot can cause painful blisters, so it’s important to dedicate the time needed to find your perfect fit. Boots are an investment, so don’t waste your money purchasing a pair that will cause you pain. Once more, make sure to break your boots in before your hike. This will help them mould better to your feet before your big day.
Winter Boot B-ratings
- B1: These boots offer a semi-stiffened sole that’s suitable for summer mountain use and non-technical winter walking. Crampon use: compatible only with strap-on C1 crampons.
- B2: These 4 season mountain boots are a great all-around option. They offer a stiffer sole but still allow you to walk naturally making them suitable for all UK winter walking, alpine mountaineering, and some winter climbs. Crampon use: compatible with C1 and semi-automatic C2 crampons.
- B3 – These are fully rigid, technical mountain boots that feature ledges at both the heel and toe. These boots are generally much heavier and less comfortable and are specifically designed for steep winter climbing. Crampon use: compatible with C3 step-in crampons.
Item #8: Ice Axes
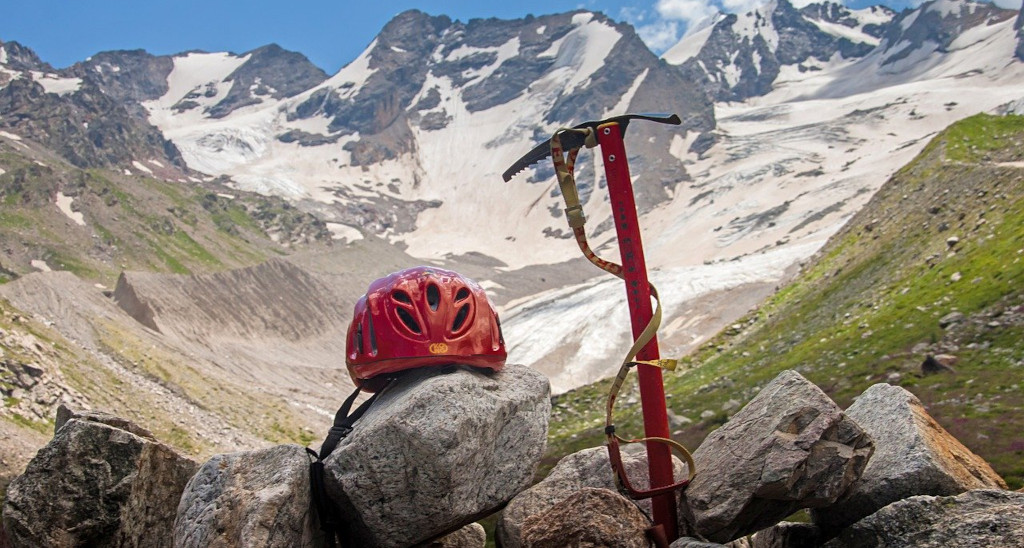
Your ice axe is your walking aid for snowy and icy conditions. Ice axes are also a safety item, used for breaking in an event of a downhill slip. You’ll learn how to use ice axes before your Ben Nevis winter ascent by your guide.
There are two types of ice axes: Technical (T/Type 2) and Basic (B/Type 1). You’ll be using Basic axes which are designed for mountain walking.
You can either buy your ice axes before your walk, or you can arrange to hire this equipment with us at Maximum Adventure.
Item #9: Crampons
Crampons for winter walking (C2) are hinged in the middle and have spikes facing down and forward. These are compatible with B2 boots that have some flexibility. Unhinged crampons (C3 ) are only suitable for ridged B3 boots. You’ll be using C2 walking crampons on your Ben Nevis winter ascent.
Crampon Training is included in all our winter ascents of Ben Nevis. You can purchase your crampons or arrange equipment hire with us at Maximum Adventure.
Mountain food: What to eat to fuel your Ben Nevis winter ascent
This is the perfect time to eat all the pies! You can expect to burn over 3000 calories on your winter ascent of Ben Nevis, meaning it’s vital you plan your nutrition carefully.
Before your trip, start carb loading. This is when you eat a little carb excess to fuel your muscles in preparation a few weeks before. Don’t be tempted to gauge on food a few days before and in the morning of your walk. To explain why use the analogy of filling up your car. With a full tank, your car will run less efficiently than when running on half a tank. The same applies to humans, if we eat too much we will feel sluggish on our walk.
Thinking about this analogy, it’s also important to keep your tank half-full, which means eating frequently, but a little. You want to maintain your blood sugar, so bring a lot of snacks and quick bites you can munch on throughout your walk. We say, nothing beats a jam sandwich – easy to eat and gives your body what it needs.
It will be cold up there, so avoid snacks that could freeze making them hard to chew (e.g. Mars Bars, Snicker Bars).
How to get mountain fit (your fitness plan for your Ben Nevis winter ascent)

Fitness is essential for walking in winter. It’s way more strenuous than walking during the summer months. For one, you’ll be carrying heavier gear, boots and more equipment. You’ll also be taking higher steps through fresh snow while learning to use crampons and carrying ice axes. These factors all contribute to making winter mountaineering one of the most strenuous activities we offer.
The ascent of Ben Nevis in Winter can take between 6-10 hours, so your ability to keep going, with good stamina, grit and determination are all essential. Make sure you start incorporating cardio workouts 6 weeks before your trip. Running and cycling are great ways to get your heart pumping and build your leg muscles before your walk. Build up slowly, but aim to do a cardio workout at least three times per week.
Once more, your Ben Nevis ascent will mean walking on rough ground, so you’ll want to get used to this. Many people come on our trips who are fit but are new to off-road and mountainous terrain. We recommend you get some mountainous training hikes in before your trip to ensure you’re fully prepared.
Book your guided Ben Nevis winter ascent with us at Maximum Adventure
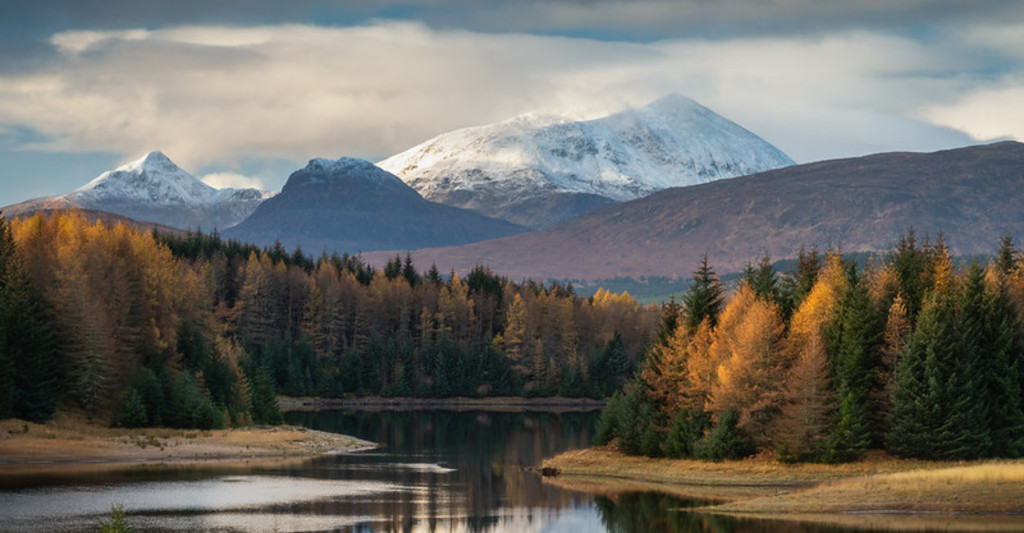
We hope you choose to take on the challenge of Ben Nevis in Winter and that this article has inspired you. Ben Nevis is a stunning and magical place, and its peak can be a picturesque winter wonderland.
Maybe your wanting to up your skills in the mountains, or you’re ticking off a new year’s resolution, or maybe you’re just looking for an adventure…
Whatever your reason, book your Ben Nevis Winter adventure with Maximum Adventure to ensure a safe and enjoyable experience.
Trust me, you won’t regret it.
Want more tips and tricks for your adventure? Check out out Maximum Adventure’s News and Blogs page here!
Thinking about conquering Ben Nevis this winter? Do you have any questions or advice that hasn’t been covered in this article? Please do not hesitate to get in touch.


